Pathfinder Age of Worms Campaign: Cogsworth Labyrinth Adventure Recap
This is the summary from the last First Edition Pathfinder gaming session of my Age of Worms campaign. It probably won’t make too much sense for those familiar with the campaign—or anyone outside my group of players, for that matter. In this side quest, the heroes known as the Ruinlords (Pathfinder punny joke, lol) had discovered a maze called the Cogsworth Labyrinth that was said to hold the dragon hoard of the bronze dragon Pyraxus. And now, we pick up from there.
The Cogsworth Labyrinth wasn’t just a maze—it was a death trap with teeth, and the Ruinlords were stuck in its jaws. They moved cautiously, but even the air felt wrong, thick with the charge of something waiting to strike. The heroes didn’t have to wait very long. The veins of Theyrium (a powerful ore believed to have originated in the Abyss) running through the walls pulsed once, then exploded into life, twisting into long tendrils like crystalline vipers. Each one cracked free with a sound that cut through the stillness like a bone snapping. They didn’t just lash out—they hunted, driven by something far worse than instinct.
The fight was a blur of blood, sweat, and desperation. No time to think, no time to plan—just survive. Barely. But they did, and when the last of those glowing tendrils shattered to dust, the party pressed forward, deeper into the guts of the Labyrinth. They found themselves in a place built for violence: the arena. Towering curved metal walls surrounded them, casting eerie green light from the Theyrium veins embedded in the structure. In the center stood a hulking mass of death—the Crowd Pummeler 9-60, a mechanical monstrosity designed to kill, and it locked onto them the moment they stepped inside.
The Pummeler didn’t hold back. Every blow felt like a freight train, every second stretched out into a brutal eternity. But the Ruinlords weren’t pushovers. They dug deep, working together, finding weak spots, until finally, the machine faltered. But even in its death throes, the Pummeler whispered a grim warning: the defences around the Heart of the Labyrinth were ramping up, preparing for something worse.
The party limped onward, finding temporary relief in a chamber called the Gnomish Recovery Matrix, though ‘relief’ was a generous word. The machines in the room were meant to heal, but nothing in this place came without a catch. Kaldir Stormrage—half-dragon, half-berserker, all fury—had been broken by the Theyrium, his mind lost to madness. The Matrix gave him a chance, though, filtering the corruption from his system long enough for him to regain his senses. But Kaldir wasn’t calm. There was too much fire in his eyes, too much fear. He’d been in the Labyrinth for so long, twisted by the Theyrium, searching for the dragon Pyraxus—who he believed was his blood relative. The heroes wanted to help Kaldir find the dragon’s lair, but their motivation was more financial than altruistic.
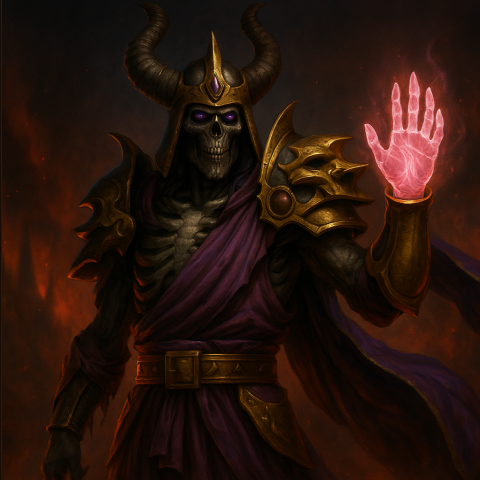
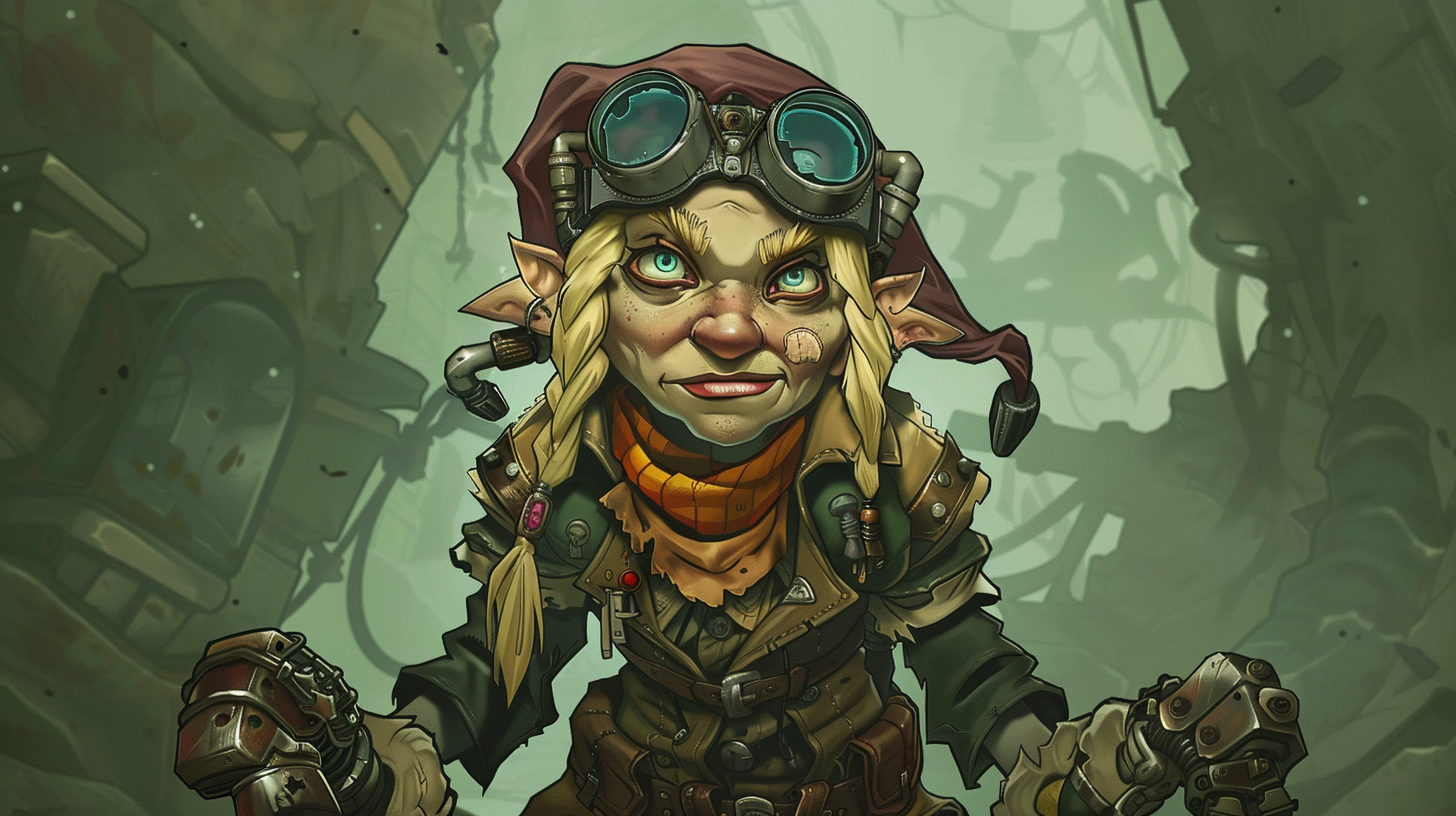
They pushed on into the Workshop of Cogsworth, where the air smelled of old metal and broken dreams. This was where things got personal. Trixwynn Cogsworth greeted them, having been left to die by her aunt and the original creator of the labyrinth, Valeria Cogsworth. Trixwynn was barely recognizable as the gnome she once was. She’d fused herself with a monstrous machine, a scorpion-like horror powered by Theyrium, and she wasn’t sane anymore. Her mind was as broken as the machines around her, twisted by centuries of isolation and rage. Trixwynn ranted, her words sharp with bitterness and madness, promising to make the party suffer, promising they would see the true power of Theyrium before they died.
Trixwynn summoned a giant elemental, its body crackling with raw electricity, the air around it humming with the promise of violence. It surged forward like a living storm, all fury and power, crashing into the heroes with relentless strikes. They fought back, hard and fast, but it was like trying to punch a thunderstorm. When the elemental finally went down in a shower of sparks, the air smelled like scorched metal and burned flesh.
Then Trixwynn made her move. The gnome-turned-machine barreled into the fray, her mechanized body a blur of steel and fury. It was chaos. Flesh against metal. Magic against machine. The whole fight felt like the Labyrinth had come alive, watching them, waiting for them to make a mistake. Cal saw his opening in the madness, the Command Rod heavy in his hand. He jammed it into place and rerouted the Theyrium’s power, hoping it would shut this nightmare down.
But as Trixwynn fell, her last words sliced through the noise: resetting the Heart wouldn’t end things—it would set something far worse free. Her voice lingered like a bad omen, and then everything went dark.
The doors slammed shut with a shudder that felt final, like the Labyrinth was locking them in, sealing their fate. The Ruinlords stood there, trapped, nothing but the heavy sound of their breathing filling the silence. And in the distance, low and steady, they could hear it—a rumble, growing louder with each second. The ground shook, and the walls trembled. Then, all became as silent as a tomb.
GM Notes
Now, I’m diving into some GM notes on what I learned from this session. Part of the reason I’m writing this is because if I’m learning something, maybe it can help another GM out there too. If you’re one of my players reading this, you might want to stop here—there could be spoilers ahead! See you at the next session!
A Little About My Pathfinder Group
My Pathfinder group gets together about twice a month, with each session running roughly four hours. Depending on how things are going, that can sometimes stretch longer. For this particular session, I had planned for the game to end as the players entered the final room, where they would be confronted by the huge lightning elemental and the Scorpion Gnome. But the players weren’t interested in waiting until the next session to face the Big Boss, so they asked if we could keep going.
I agreed, but looking back, I kinda wished I hadn’t.
What I Liked About the Session
Gnomish Recovery Matrix:
This room provided a good break from the heavy combat flow. The players had just dealt with three Theyrium Tendril snakes, followed by a tough fight with the Crowd Pummeler. They were running low on resources, and the Gnomish Recovery Matrix gave them a chance to recover and learn more about their new ally, Kaldir. While I could’ve fleshed out the room a bit more, it served its purpose in pacing and character development.
What I Didn’t Like
The Combats:
My table has 5 to 6 players, and we can usually squeeze two combat encounters into a session. This time, though, we had three—one of which involved a powerful henchman and then the Big Boss herself. By the time they reached the final fight, it felt like more of the same. Each encounter had a solo, hard-hitting target, and there wasn’t enough variety to keep things interesting. The fights blended together in my mind. The fighter who specialized in “dirty tricks” (debuffs) was frustrated because most of the enemies were immune to his debuffs. I think if I had mixed up the types of creatures and introduced different mechanics, it would have been more engaging for everyone, including me.
The Prep:
As I mentioned earlier, I had planned for the session to end when they met the Big Boss, leaving a nice cliffhanger. I had the lightning elemental and Trixwynn prepared just in case, but what I didn’t have ready was what came after. The players had the Control Rod to reset the labyrinth, but I hadn’t finished the mechanics on how that would work. That was entirely on me.
Lessons Learned:
- Variety matters: Mix up creature types and mechanics to keep combat encounters fresh and engaging.
- Balance pacing: Consider breaking up combat with exploration, puzzles, or role-playing to avoid burnout.
- Prep beyond the immediate: Always be ready for what comes after the Big Boss fight—your players might surprise you by pushing forward.
- Adapt, but with limits: Be willing to extend sessions, but keep an eye on player fatigue and your own preparedness.
Additional Material
A couple of days after this session, I came across this video by Basic Liches on YouTube. In fact, watching the video prompted me to write this blog post. So, if you’re not into the blah blah blah of the written word, check out their great video linked below.
Posted on September 12, 2024, in Campaign and tagged Age of Worms, Dungeons and Dragons, Gaming, Paizo, Pathfinder, Pathfinder RPG, RPG, TTRPG. Bookmark the permalink. Comments Off on Pathfinder Age of Worms Campaign: Cogsworth Labyrinth Adventure Recap.